Google Cloud Platform
Deploy VM
To deploy VyOS on GCP (Google Cloud Platform)
Generate SSH key pair type ssh-rsa from the host that will connect to VyOS.
Example:
ssh-keygen -t rsa -f ~/.ssh/vyos_gcp -C "vyos@mypc"
Note
In name “vyos@mypc” The first value must be “vyos”. Because default user is vyos and google api uses this option.
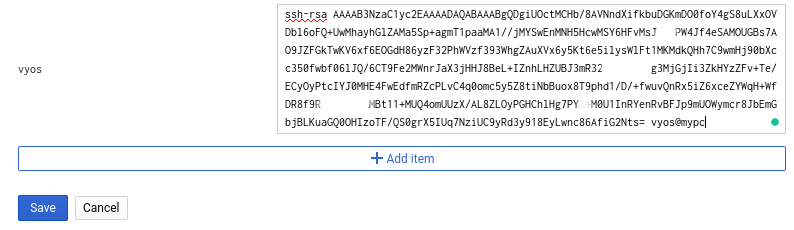
Open GCP console and navigate to the menu Metadata. Choose SSH Keys and click
edit.

Click Add item and paste your public ssh key. Click Save.
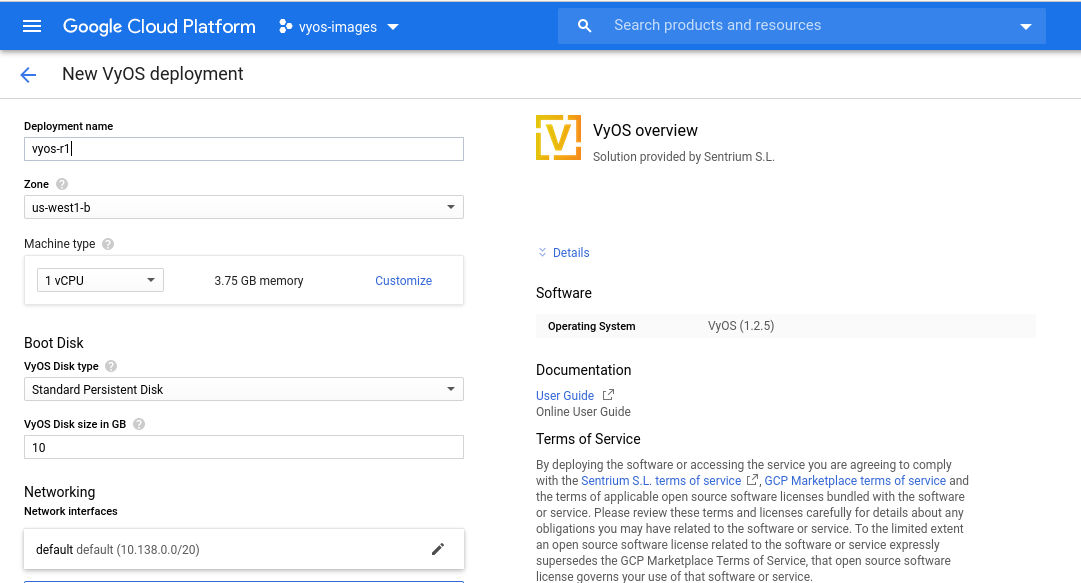
On marketplace search “VyOS”
Change Deployment name/Zone/Machine type and click
Deploy
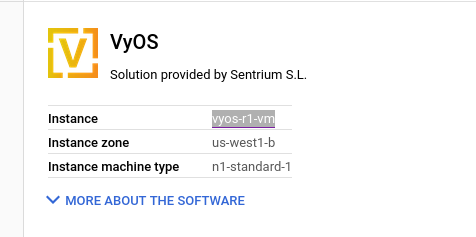
After few seconds click to
instance
Find out your external IP address
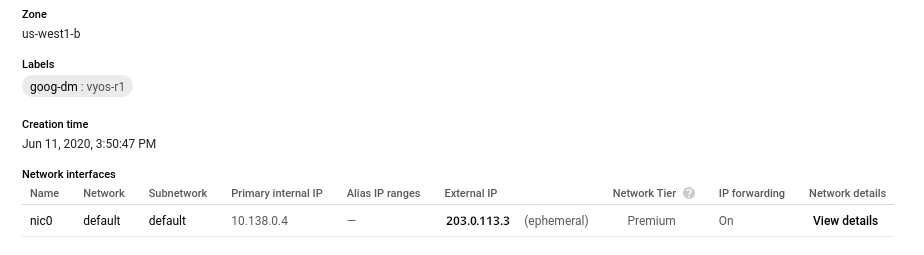
Connect to the instance. SSH key was generated in the first step.
ssh -i ~/.ssh/vyos_gcp [email protected]
vyos@vyos-r1-vm:~$